
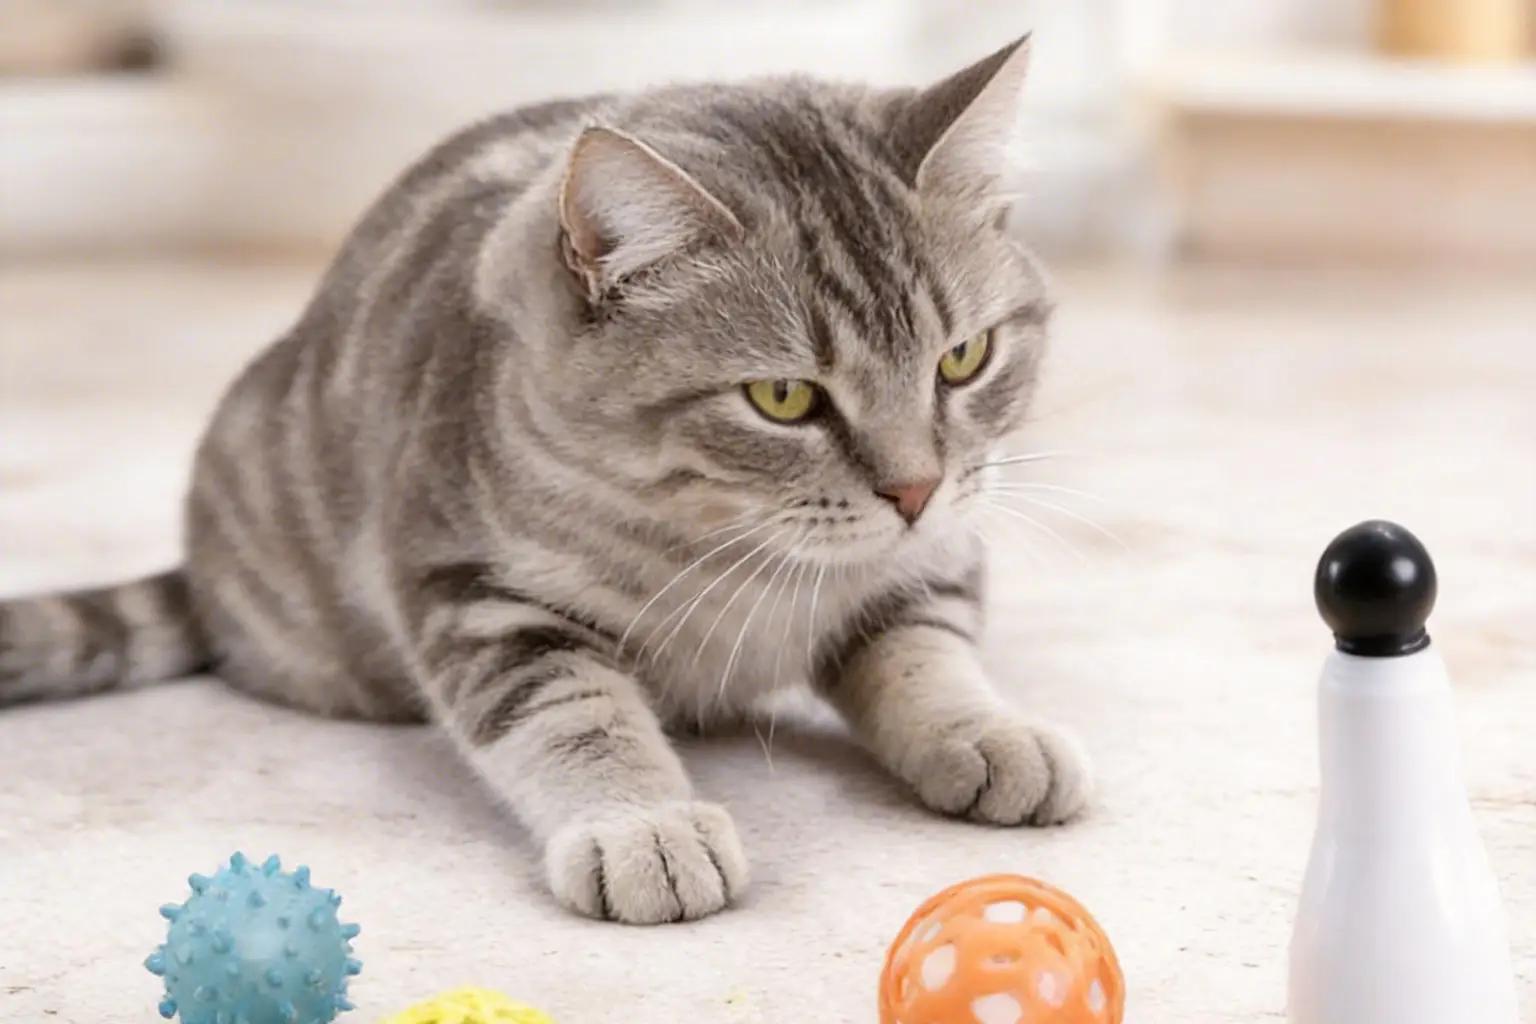


Many pet owners love the idea of making a unique plush toy for their dog. They often want complete control over materials and safety. Some choose this project for the fun bonding experience. Others enjoy upcycling or saving money. Anyone can learn how to design plush dog toy with just a little creativity.
Key Takeaways
Start your plush dog toy design by gathering inspiration from existing toys. Visit pet stores or browse online to see what features stand out.
Sketch your design to create a clear plan. This helps visualize the toy’s shape and size, making the sewing process easier.
Choose safe, durable materials for your toy. Look for non-toxic fabrics and fillings to ensure your dog can play safely.
How to Design Plush Dog Toy: Planning and Inspiration
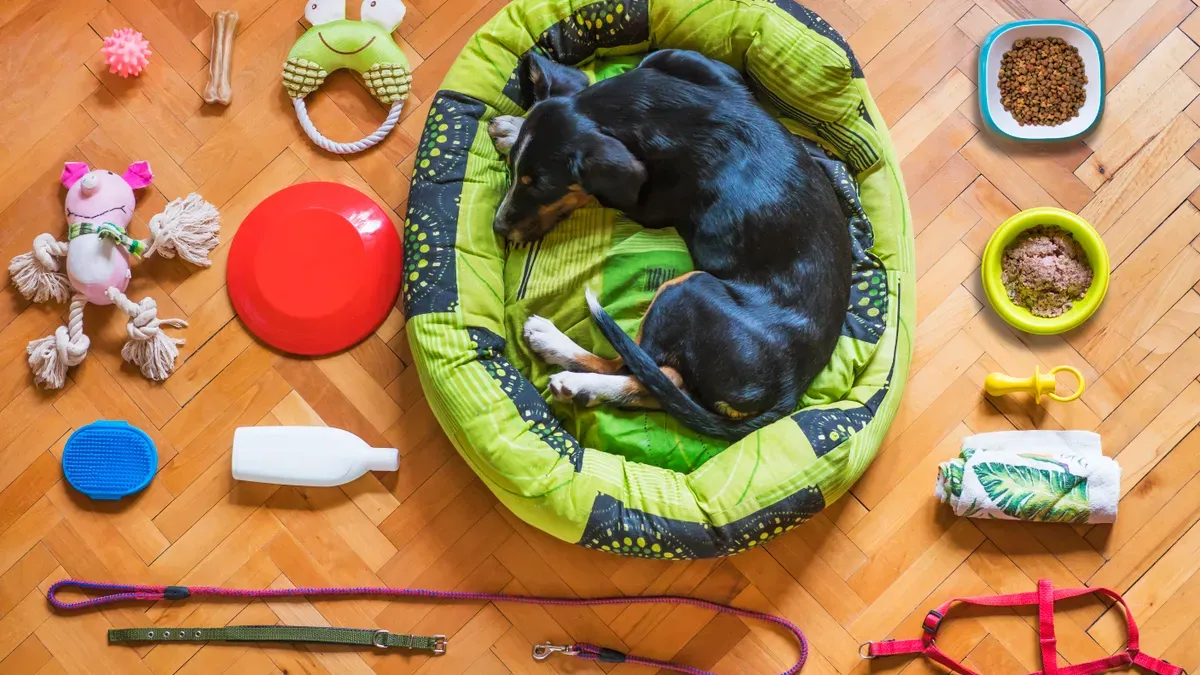
Find Inspiration from Existing Toys
Many people wonder where to begin when they want to learn how to design plush dog toy. They often start by looking at popular plush toys already on the market. These toys come in all shapes and sizes, from classic puppies to creative animal characters. Some of the most loved designs include:
Puddles Puppy
Bentley the Golden Doodle
Jacques the Jack Russell
Polkadot Floppy Puppy
Fifi the Parisian Poodle
Winston the Schnauzer Puppy
These toys stand out because they have unique features, soft textures, and friendly faces. Designers often think about what both dogs and their owners want. They focus on things like how the toy feels, how it looks, and how it sounds. They also consider how dogs interact with toys, such as chewing, carrying, or cuddling.
Tip: Take a trip to a pet store or browse online shops. Notice which plush toys catch your eye. Think about what makes them special. Is it the floppy ears, the bright colors, or the fun squeaker inside?
Sketch or Outline Your Design
After gathering ideas, the next step in how to design plush dog toy is to sketch or outline the design. Drawing helps turn inspiration into a real plan. Some people use reference pictures to guide their sketches. Others trace the outline of a favorite toy or use simple shapes like circles and ovals.
A sketch does not need to be perfect. It just needs to show the basic shape, size, and any special features. For example, someone might draw a round head, long ears, and a wagging tail. They can add notes about where to place a squeaker or what color fabric to use.
Sketching helps decide how big the toy should be.
Outlining shows where to add details like eyes, noses, or patches.
Reference images keep the design consistent and clear.
Note: People often find that sketching makes the sewing process much easier. It gives them a clear map to follow.
Create a Simple Pattern
Once the design is ready, it is time to make a pattern. This step is important in how to design plush dog toy because a good pattern leads to a well-shaped toy. Many beginners use easy methods to create patterns. One common way is to cut out the shape on paper first. Then, they pin the paper to the back of the fabric.
Here is a simple way to make a plush dog toy pattern:
Cut out the pattern on the outer line.
Pin the pattern to the backside of the fabric.
Use chalk or a marker to trace around the pattern.
Unpin the pattern and cut the shape out of the fabric, staying just inside the line.
Repeat to make a second piece.
Place the two pieces together with the right sides touching. Pin them in place.
This method works for many shapes, from bones to puppies. People can adjust the size or add extra pieces for ears or tails. A simple pattern makes sewing and stuffing much easier.
Creating a pattern helps avoid mistakes and saves time. It also lets people test the size and shape before cutting expensive fabric.
Learning how to design plush dog toy starts with inspiration, sketching, and pattern-making. These steps help turn creative ideas into a real, huggable toy that both dogs and their owners will love.
Safe Materials and Dog-Friendly Features
Best Fabrics and Fillings
Choosing the right fabric and filling makes a big difference in how to design plush dog toy that is both safe and long-lasting. Many people pick fabrics like fleece, minky, or cotton because they feel soft and gentle on a dog’s mouth. Some of the most recommended options include:
Polyester fiberfill: Lightweight, durable, and resists mold or bacteria.
Cotton: Biodegradable and non-toxic, but it can flatten with heavy chewing.
Natural fibers: Eco-friendly and safe for most dogs.
Here’s a quick look at safe fillings:
Filling Type | Safety Features |
|---|---|
Polyester Fiberfill / Polyfill | Lightweight, durable, hypoallergenic, resists mold and bacteria, keeps shape. |
Cotton and Natural Fiber Stuffing | Biodegradable, non-toxic, compresses quickly; often mixed with fiberfill. |
Washable and Refillable Options | Easy to clean and customize, helps with hygiene and adaptability. |
Non-Toxic and Durable Choices
When learning how to design plush dog toy, safety comes first. Many toys on the market use plastics or chemicals that can harm dogs. Some even contain heavy metals like lead or cadmium. Poor stitching can also create choking hazards if small parts break off. Using non-toxic and durable materials helps toys last longer and keeps dogs safe during play. Materials like organic cotton, hemp, and natural rubber stand up to rough chewing and reduce health risks.
Tip: Always check labels for non-toxic and hypoallergenic claims before buying or using materials.
Adding Fun Elements (Squeakers, Crinkle)
Fun features keep dogs interested in their toys. Many plush toys include squeakers or crinkle material to spark a dog’s curiosity. Crinkle toys offer a unique sound and texture, while squeakers tap into a dog’s hunting instincts. Some toys even have treat pockets or t-shirt ropes for tug-of-war. Here’s a quick guide:
Feature | Description |
|---|---|
Squeaking and Crinkling | Engage dogs’ senses and instincts with sound and texture. |
Hidden Treat Pockets | Add extra fun by hiding snacks inside the toy. |
T-Shirt Ropes | Great for tug games and interactive play. |
Crinkle plush toys provide high stimulation with a soft rustle, making them a favorite for many dogs.
Assembly and Finishing Touches
Step-by-Step Sewing or Assembly
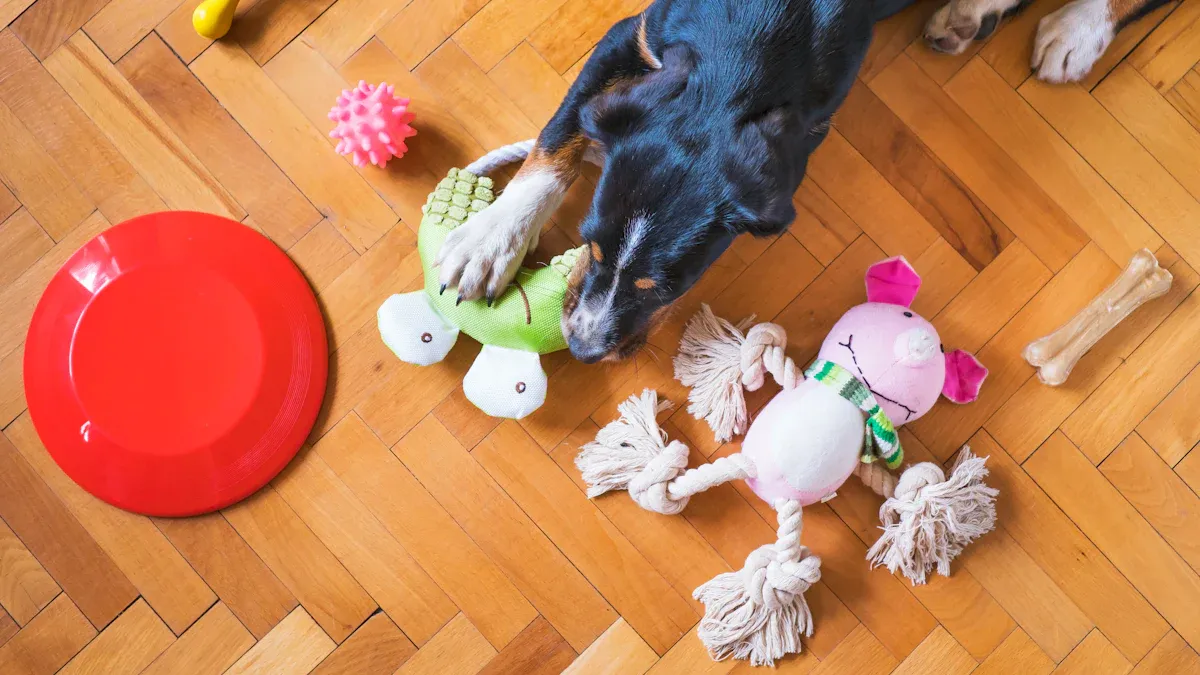
Many crafters find that a clear sewing process makes their plush dog toy safer and more durable. They start by pinning the fabric pieces together, making sure the right sides face each other. Using a sewing machine or hand stitching, they sew around the edges, leaving a small opening for stuffing. Step-by-step instructions help them select materials that match their dog’s chewing habits. They can add features for fetch or mental stimulation, like squeakers or crinkle material. After sewing, they turn the toy right side out and fill it with safe stuffing. Regular inspection for wear and tear prevents choking hazards.
Tip: Video tutorials can guide beginners through each step, making the process easier and more enjoyable.
Reinforce Seams for Safety
Strong seams keep the toy together during rough play. Many makers use doubled thread and large knots to prevent slipping. They stitch into solid fabric, avoiding frayed edges. A ladder stitch works well for closing the opening, taking small bites from each side. Securing the end with extra stitches and hiding the thread inside adds strength. Reinforced seams stop stuffing from spilling out, which helps avoid choking hazards or accidental ingestion.
Step | Action |
|---|---|
1 | Replace lost stuffing |
2 | Use doubled thread and big knot |
3 | Stitch into solid fabric |
4 | Ladder stitch to close hole |
5 | Secure and hide thread |
Final Safety Check
Before giving the toy to a dog, makers check for hazards. Plush toys can shred easily, so they look for loose or deteriorating material. They inspect for small parts that could cause choking or sharp edges that might injure a dog’s mouth. Ingested stuffing can lead to digestive issues or blockages. Makers monitor toys for signs of wear and tear, removing damaged toys right away.
Note: A careful safety check ensures the plush dog toy stays fun and safe for every pup.
Learning how to design plush dog toy includes careful assembly, strong seams, and a thorough safety check. These steps help create a toy that dogs can enjoy without risk.
Designers can plan their toy, pick safe materials, and assemble with care. Many beginners face weak seams or safety issues, but they learn with practice. Creating plush toys sparks creativity and strengthens the bond with pets. Here’s a quick checklist:
Sketch a simple design
Choose safe, washable fabrics
Reinforce seams
Add fun features
Inspect for hazards
Making a plush dog toy brings joy to both owner and pup. Every homemade toy shows love and creativity.
FAQ
How long does it take to make a plush dog toy?
Most people finish a simple plush dog toy in one to two hours. Adding extra features or details may take a little longer.
Can beginners learn how to design plush dog toy?
Yes! Many beginners start with basic shapes and simple patterns. They often find the process fun and rewarding.
What should someone do if their dog destroys the toy quickly?
They can try using stronger fabrics or double stitching. Some dogs need tougher toys, so testing different materials helps.
